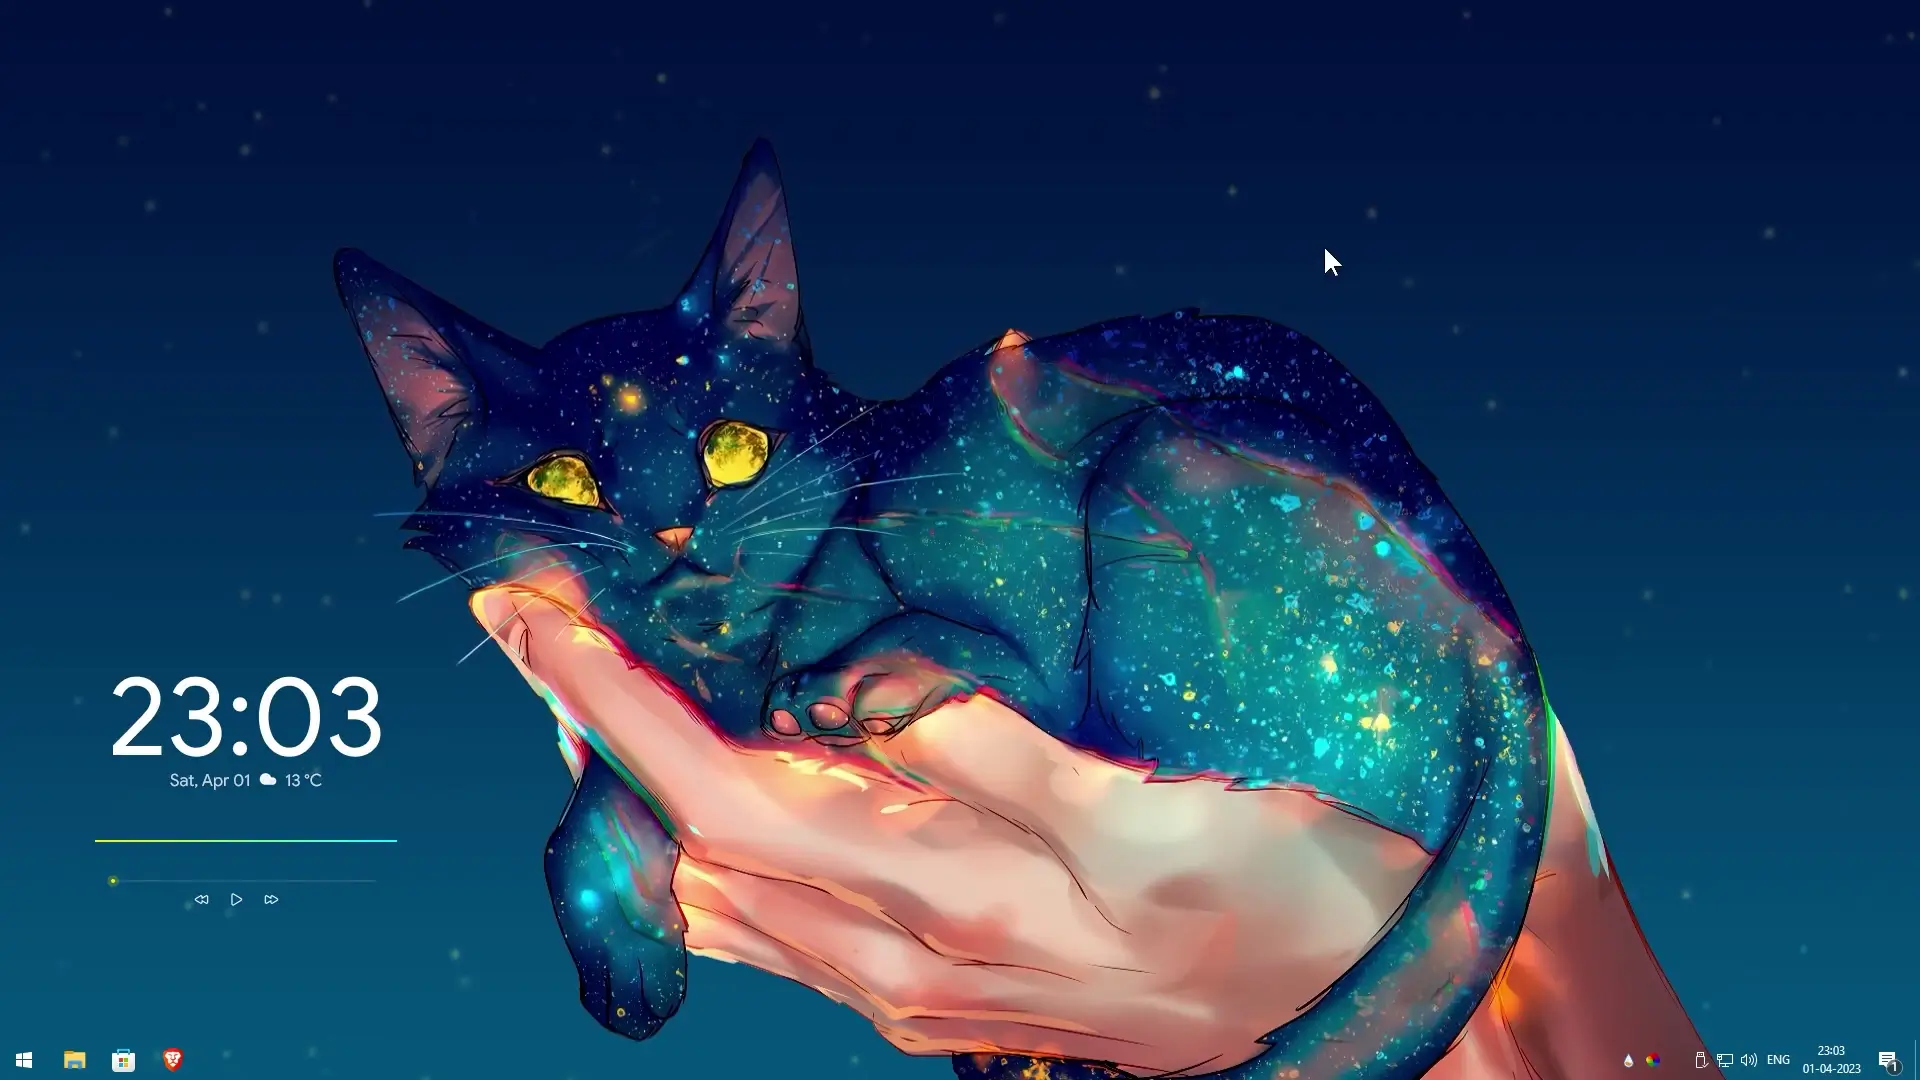
If you want to give your computer a unique and personal look, there are several ways. One option is changing the wallpaper or background image to something that represents your interests or style. You can customize your desktop icons’ appearance, shape, or color using a theme or skin. Installing a new theme or skin will drastically enhance the visual appeal of your computer’s user interface. Online, you can find an array of themes to completely change the appearance of your computer. Additionally, you can add physical touches by applying stickers or decals, or even using a colorful keyboard cover and mouse pad. Whatever method you select, giving your machine a fresh new look can make it feel more personal and enjoyable to use.
Today, I am presenting you the new theme which gives your computer a new and unique look, this theme includes a new design of clock, date, weather, visualizer & song info and also this is possible with Rainmeter. You will find the wallpaper and all other widgets on my theme setup zip file. So now lets start the customization. First you need to download the files from the link below.
✅ Download Files ✅
If you do want to use Lively then and already owned Wallpaper Engine then you can download the same theme from here
Theme Setup Tutorial
After downloading all the setup files including zip file, you have to install Lively Wallpaper. Now extract the theme setup zip file and there you will see Space Cat.zip file, drag and drop the zip to lively wallpaper and activate the new wallpaper by clicking on it. Now go to the settings, there you will see lots of options to customize your desktop. Change the settings as you like or you can copy my settings by watching my video tutorial below.
After you have successfully configure your desktop wallpaper, now its time to setup rainmeter and install all the widgets. Install rainmeter and unload everything that you see on your desktop. Now install and configure both the widget inside theme setup folder. Here is the tutorial video if you are want to copy all my settings as seen in the intro.


