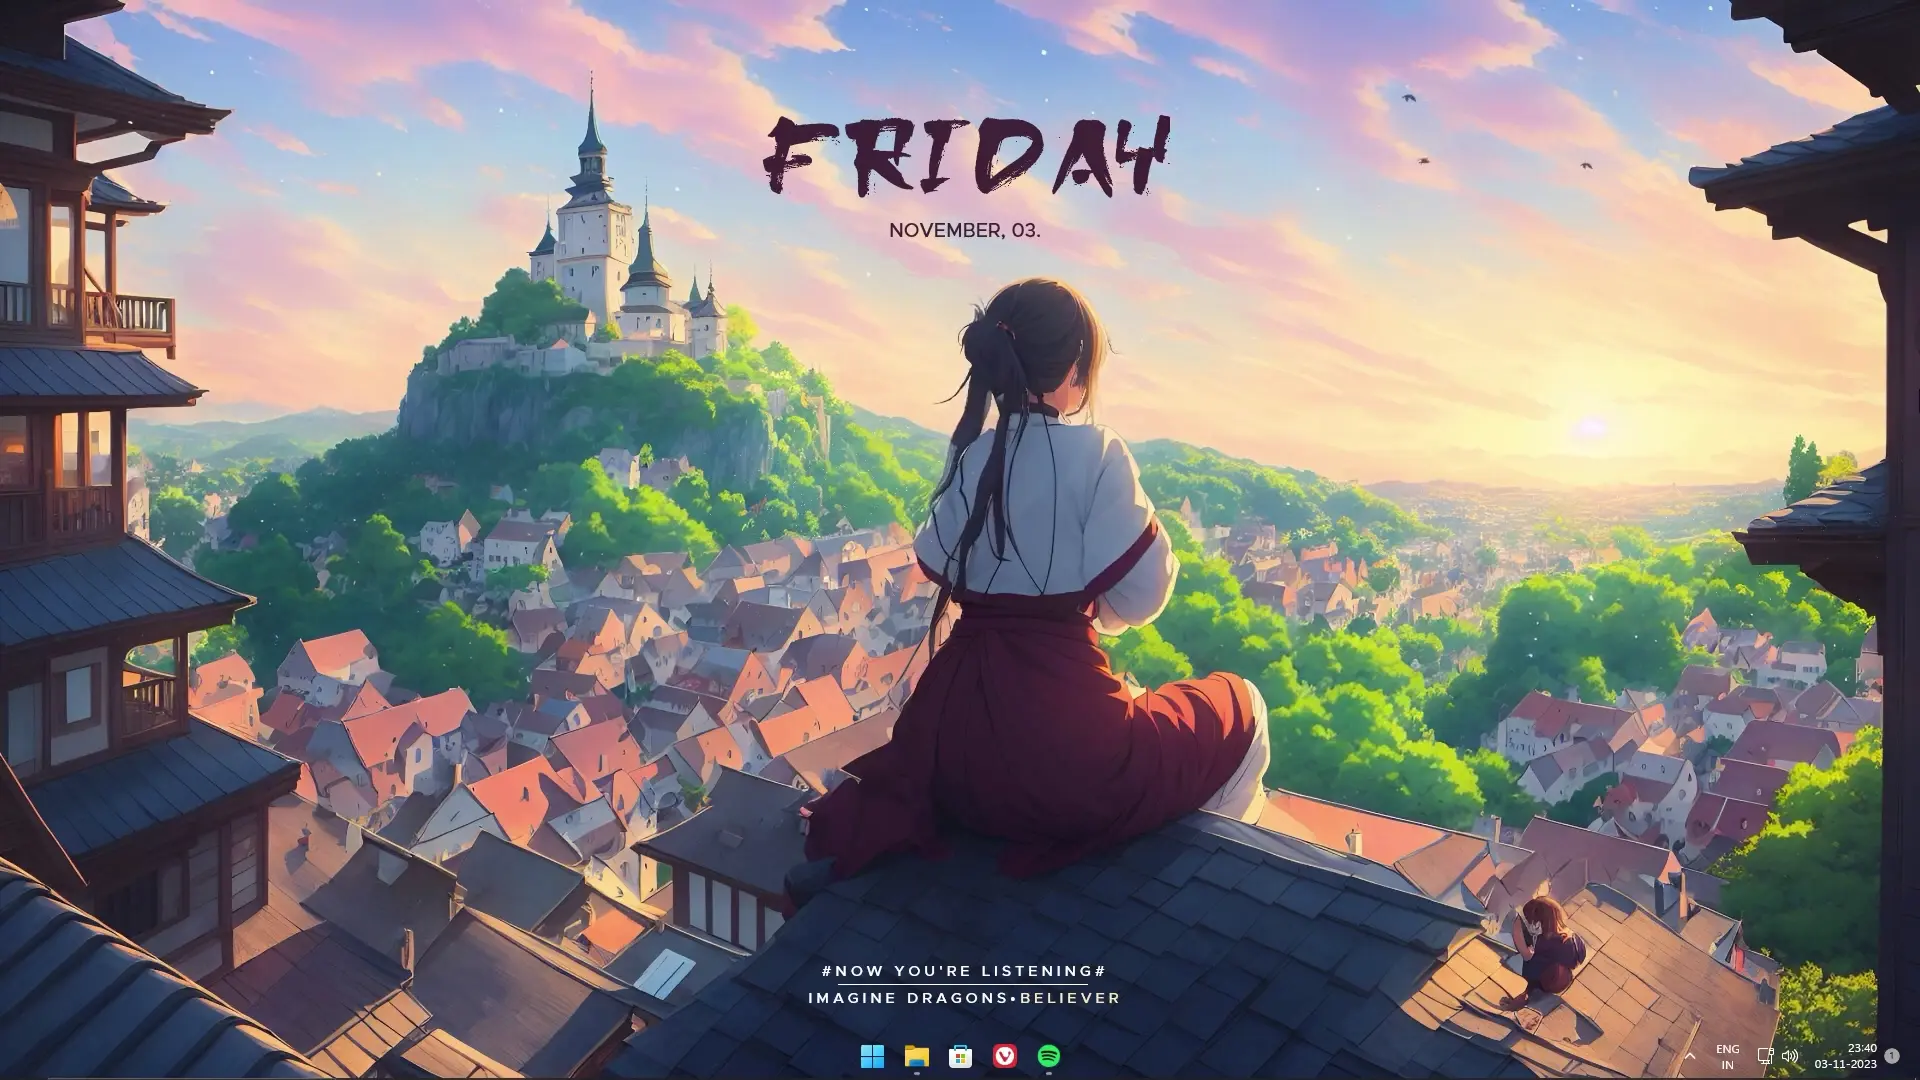
If you’re looking to give your desktop a fresh, unique look and feel, Rainmeter is the tool for you. With a few simple steps, you can transform your computer’s desktop into a visually appealing and functional workspace. In this guide, I’ll take you through the process, step by step, just as if I were doing it myself.
💾 DOWNLOADS 💾
Step 1: Download the Necessary Software
To get started, you’ll need to download a few essential tools. Here are the three you should get:
- Rainmeter: Visit the official Rainmeter website and download the latest version of Rainmeter. It’s a lightweight, open-source software that allows you to add various widgets and elements to your desktop.
- TranslucentTB: Head over to your preferred download source (you can find it in the Microsoft Store) and get TranslucentTB. This program will help you achieve a transparent taskbar, adding a modern touch to your desktop.
- RoundedTB: Similarly, head to the Microsoft Store and download RoundedTB. This tool will give your taskbar rounded edges for a sleek appearance.
Step 2: Setting Up Rainmeter
Now that you’ve got the essential software, let’s set up Rainmeter and start customizing your desktop.
- Install Rainmeter by running the installer you downloaded in Step 1.
- Unload any widgets or themes that might be running by right-clicking the Rainmeter widget in your desktop and selecting “Unload.” This ensures a clean slate for your new setup.
- Extract the contents of the “Japanese Theme Setup File.zip.” Inside, you’ll find three folders: “Install Fonts,” “Lively Wallpaper,” and “Rainmeter Folder.”
- Set your desktop wallpaper to the provided “Japanese Wallpaper.jpg.” This will set the mood for your new desktop.
Step 3: Installing Fonts
Fonts can greatly affect the aesthetics of your desktop. Let’s get them installed:
- Go to the “Install Fonts” folder from the extracted files and install both of the provided fonts.
Step 4: Adding Rainmeter Widgets
Now, let’s add some widgets to your desktop to make it more functional and attractive:
- Copy all the content from the “Rainmeter Folder.”
- Navigate to your “Documents” folder and find the “Rainmeter” directory. Inside, locate the “Skins” folder.
- Paste the content you copied from the “Rainmeter Folder” into the “Skins” folder.
Step 5: Configuring Rainmeter Widgets
It’s time to put those Rainmeter widgets to work:
- Open Rainmeter from your system tray and click the “Refresh All” button to load the new widgets you added.
Step 6: Setting Up TranslucentTB
Now that your desktop is enhanced with Rainmeter, let’s add the transparent taskbar using TranslucentTB:
- Open the Microsoft Store and search for “TranslucentTB.” Download and install it.
- Open TranslucentTB and configure it according to your preferences. You can set the taskbar to be transparent, among other customization options.
Step 7: Adding RoundedTB
Lastly, let’s give your taskbar rounded edges with RoundedTB:
- Download RoundedTB from the Microsoft Store and install it.
- Open RoundedTB and set it up to round the edges of your taskbar, further enhancing the modern look of your desktop.
By following these steps, you’ll have a beautifully customized desktop that not only looks great but also works perfectly for your needs. Enjoy your new, personalized computer experience!


